
This Simple No-Yeast “2 Cents” Bread is a fantastic recipe for those looking for a quick, affordable, and easy homemade bread option. Perfect for fasting days or for anyone who prefers to avoid yeast, this bread uses common pantry ingredients like flour, water, and baking soda. It requires no kneading or proofing time and is ready to bake in under 10 minutes. The result is a soft, flavorful bread with a lovely golden crust that can be customized with your favorite seeds or spices. Whether you’re making it as a side for soup or as a simple snack, this bread is an economical and delicious solution.
Full Recipe:
Ingredients:
- Water – 300 ml
- Salt – 1 teaspoon
- Sugar – 1 teaspoon
- Vegetable oil – 1 tablespoon
- Vinegar (6-9%) – 1 tablespoon
- All-purpose flour – 400 grams
- Baking soda – 1 teaspoon (no heaping)
- Baking powder – ½ teaspoon
- Optional fillings – Seeds, spices, or herbs of your choice
Step-by-Step Instructions:
Step 1: Prepare the Dough
- Mix Dry Ingredients: In a large mixing bowl, combine 400 grams of flour, 1 teaspoon of baking soda, ½ teaspoon of baking powder, 1 teaspoon of salt, and 1 teaspoon of sugar. Stir well to ensure that all the dry ingredients are evenly distributed.
- Combine Wet Ingredients: In a separate bowl, mix 300 ml of water, 1 tablespoon of vegetable oil, and 1 tablespoon of vinegar (6-9%). Stir until the oil and vinegar are well incorporated.
- Add the Wet to the Dry: Slowly pour the wet ingredients into the bowl of dry ingredients. Use a spatula or wooden spoon to mix everything together. The dough will be sticky, but this is normal.
- Optional Fillings: At this stage, you can add any optional fillings like seeds (sunflower, flax, sesame) or spices (such as herbs, garlic powder, or caraway). This step is optional but can add extra flavor and texture to your bread.
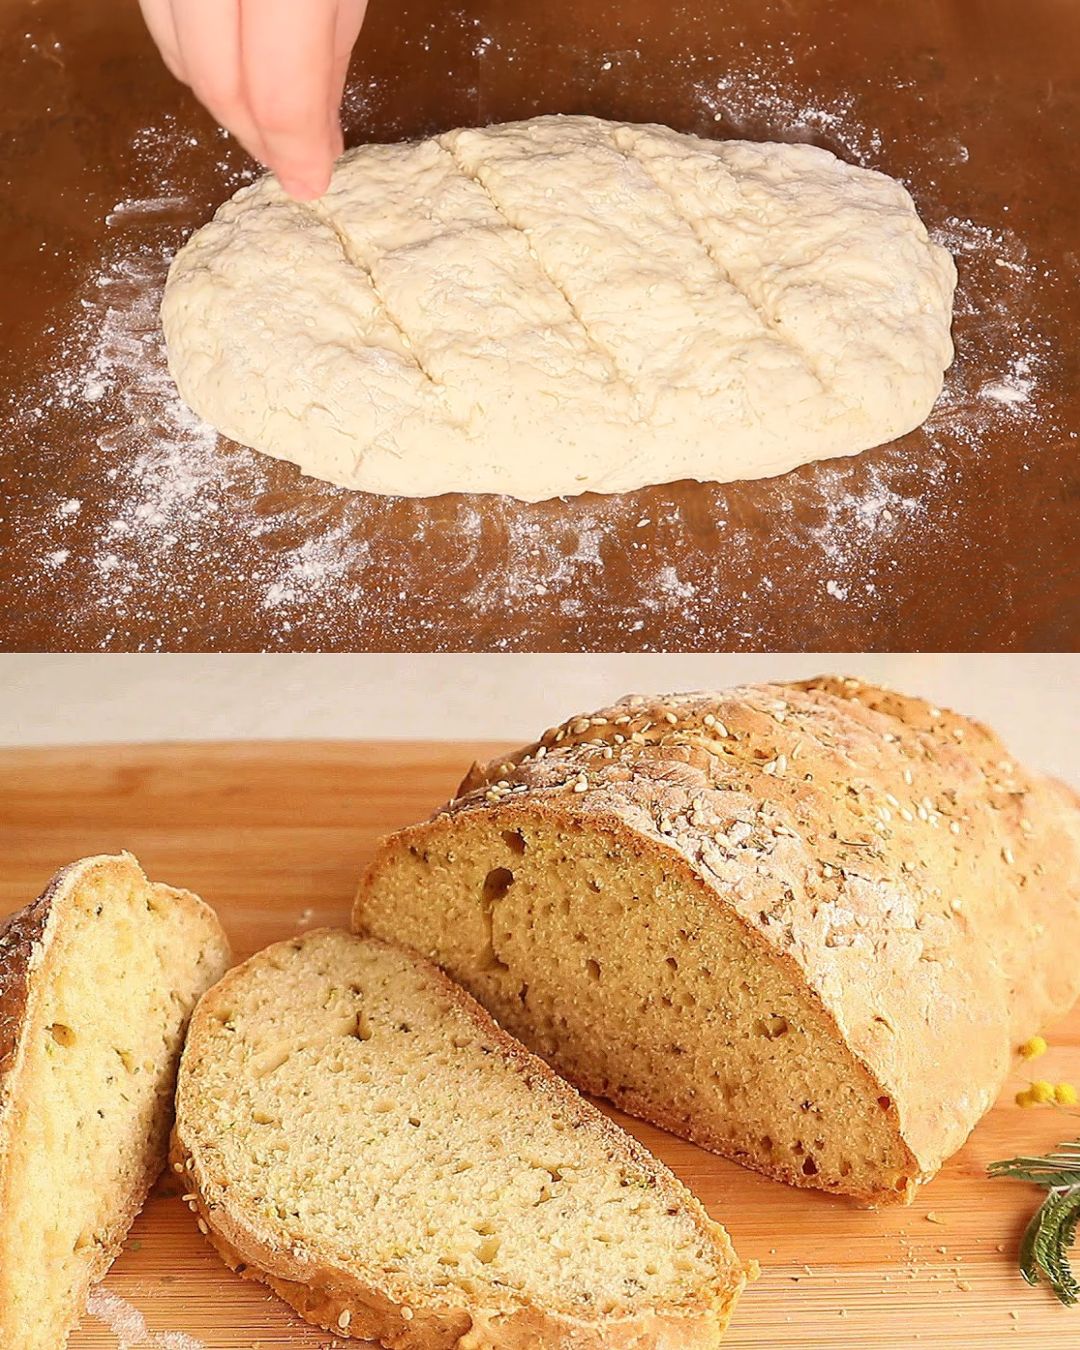
Step 2: Shape the Dough
- Form the Dough: Once the dough comes together, transfer it to a lightly floured surface. Sprinkle some flour over the top of the dough to make it easier to handle, and gently shape it into a round loaf. There is no need to knead the dough—just form it into your desired shape.
- Prepare the Baking Sheet: Line a baking sheet with parchment paper or lightly grease it with oil. Place the shaped dough onto the prepared baking sheet.
Step 3: Bake the Bread
- Preheat the Oven: Preheat your oven to 180°C (350°F) while you prepare the dough.
- Bake: Place the baking sheet with the dough into the preheated oven. Bake the bread for approximately 40 minutes, or until a golden-brown crust forms. To check for doneness, insert a toothpick or a wooden skewer into the center of the loaf—it should come out clean.
- Cool the Bread: Once baked, remove the bread from the oven and transfer it to a wire rack to cool. Let it cool completely before slicing to avoid a doughy texture.
Cooking Tips:
- Do Not Overmix: When combining the wet and dry ingredients, mix just until combined. Overmixing can result in a denser texture.
- Customize the Bread: This bread can easily be customized with additional fillings like herbs, garlic, or seeds. You can also sprinkle seeds on top of the loaf before baking for an added crunch.
- Adjust the Baking Time: The baking time may vary depending on your oven or the thickness of your bread. If your loaf is thicker, you might need to extend the baking time by 5-10 minutes. Keep an eye on the bread and check for doneness with a toothpick.
- Use Cold Ingredients: Using cold water and vinegar helps activate the baking soda and baking powder properly, resulting in a well-risen bread.
Storage:
- Refrigeration: Store leftover bread in an airtight container or wrapped tightly in plastic wrap at room temperature for up to 2-3 days. To keep it fresh for longer, refrigerate it, and it should last for up to a week.
- Freezing: You can freeze this bread by wrapping it in plastic wrap and then placing it in a freezer-safe bag or container. Freeze for up to 3 months. When ready to use, thaw at room temperature and reheat in the oven if desired.
Nutritional Facts (Per Slice, Based on 10 Slices):
- Calories: 120-130 kcal
- Protein: 3g
- Fat: 2g
- Carbohydrates: 23g
- Fiber: 1g
- Sugar: 1g
- Sodium: 250-300mg
This bread is low in fat and sugar, making it a healthy and simple option for everyday meals. By adding seeds or spices, you can increase the fiber and nutrient content, enhancing its nutritional value.
Frequently Asked Questions (FAQs):
1. Can I use whole wheat flour instead of all-purpose flour? Yes, you can substitute some or all of the all-purpose flour with whole wheat flour. Keep in mind that using whole wheat flour may result in a denser loaf, so you may want to experiment with half whole wheat and half all-purpose flour for a lighter texture.
2. Can I make this bread gluten-free? Yes, you can use a gluten-free flour blend to make this recipe gluten-free. However, the texture may differ slightly, so be sure to use a gluten-free flour that includes xanthan gum or a similar binding agent.
3. What can I substitute for vinegar? If you don’t have vinegar, you can substitute it with lemon juice. Both will react with the baking soda to help the bread rise, although vinegar is the traditional choice.
4. Can I add sweet ingredients to this bread? Yes! You can add dried fruits like raisins, cranberries, or even nuts for a sweet variation of the bread. Just reduce the salt slightly and perhaps add an extra teaspoon of sugar to balance the flavors.
5. How do I ensure a crispy crust? To achieve a crispy crust, you can place a small dish of water in the oven while the bread is baking. The steam will help create a crispy, golden crust. Also, make sure not to cover the bread while it’s cooling, as this will soften the crust.
Conclusion:
This Simple No-Yeast “2 Cents” Bread is a fantastic and budget-friendly option for anyone looking to bake fresh bread at home with minimal ingredients and effort. The quick preparation time, lack of yeast, and easy-to-find ingredients make it a go-to recipe for busy days or when you need something delicious and homemade. The bread’s simplicity lends itself to countless variations, allowing you to customize it with your favorite seeds, spices, or herbs. Whether enjoyed fresh out of the oven with butter or used for sandwiches, this bread is sure to become a staple in your kitchen. Give it a try, and you’ll be amazed by how easy and satisfying it is to make your own bread from scratch!