
There’s something undeniably comforting about biting into a warm, soft, and buttery breadstick, especially when it’s infused with the rich aroma of garlic. Olive Garden’s breadsticks have long been a favorite accompaniment to their Italian dishes, and now, with this copycat recipe, you can recreate that same delightful experience in your own kitchen. These breadsticks are not only easy to make but also versatile enough to complement a variety of meals, from hearty pastas to light soups. The process of making them from activating the yeast to kneading the dough and finally brushing them with a garlic butter topping offers a rewarding baking experience that fills your home with an irresistible aroma. Serve them fresh out of the oven, and watch as they become an instant hit at your dining table.
Full Recipe:
Ingredients:
For the Breadsticks:
- 1 1/2 cups warm water (110°F/45°C)
- 2 1/4 teaspoons active dry yeast
- 2 tablespoons granulated sugar
- 4 cups all-purpose flour
- 2 tablespoons unsalted butter, softened
- 1 tablespoon salt
For the Topping:
- 1/4 cup unsalted butter, melted
- 1 teaspoon garlic powder
- 1/2 teaspoon salt
Directions:
-
Activate the Yeast:
- In a small bowl, combine warm water, yeast, and granulated sugar. Stir gently and let sit for about 5-10 minutes until frothy.
-
Prepare the Dough:
- In a large mixing bowl or the bowl of a stand mixer, combine flour, softened butter, and salt. Add the yeast mixture and knead the dough by hand or with a dough hook on medium speed until smooth and elastic, about 8-10 minutes.
-
First Rise:
- Transfer the dough to a lightly greased bowl, cover with a kitchen towel, and let it rise in a warm place for about 1 hour, or until doubled in size.
-
Shape the Breadsticks:
- Punch down the dough and divide it into 12-14 equal pieces. Roll each piece into a 6-7 inch long rope and place them on a greased or parchment-lined baking sheet.
-
Second Rise:
- Cover the shaped breadsticks with a kitchen towel and let them rise for another 20-30 minutes until puffy.
-
Preheat the Oven:
- Preheat your oven to 400°F (200°C).
-
Bake the Breadsticks:
- Bake the breadsticks in the preheated oven for 12-15 minutes, or until golden brown.
-
Prepare the Topping:
- While the breadsticks are baking, melt the 1/4 cup of unsalted butter and mix in the garlic powder and salt.
-
Brush and Serve:
- Remove the breadsticks from the oven and immediately brush them with the melted butter mixture. Serve warm.
Prep Time: 15 minutes Cooking Time: 15 minutes Total Time: 1 hour 30 minutes Kcal: 150 kcal per serving Servings: 12-14 breadsticks
The Magic of Olive Garden Breadsticks
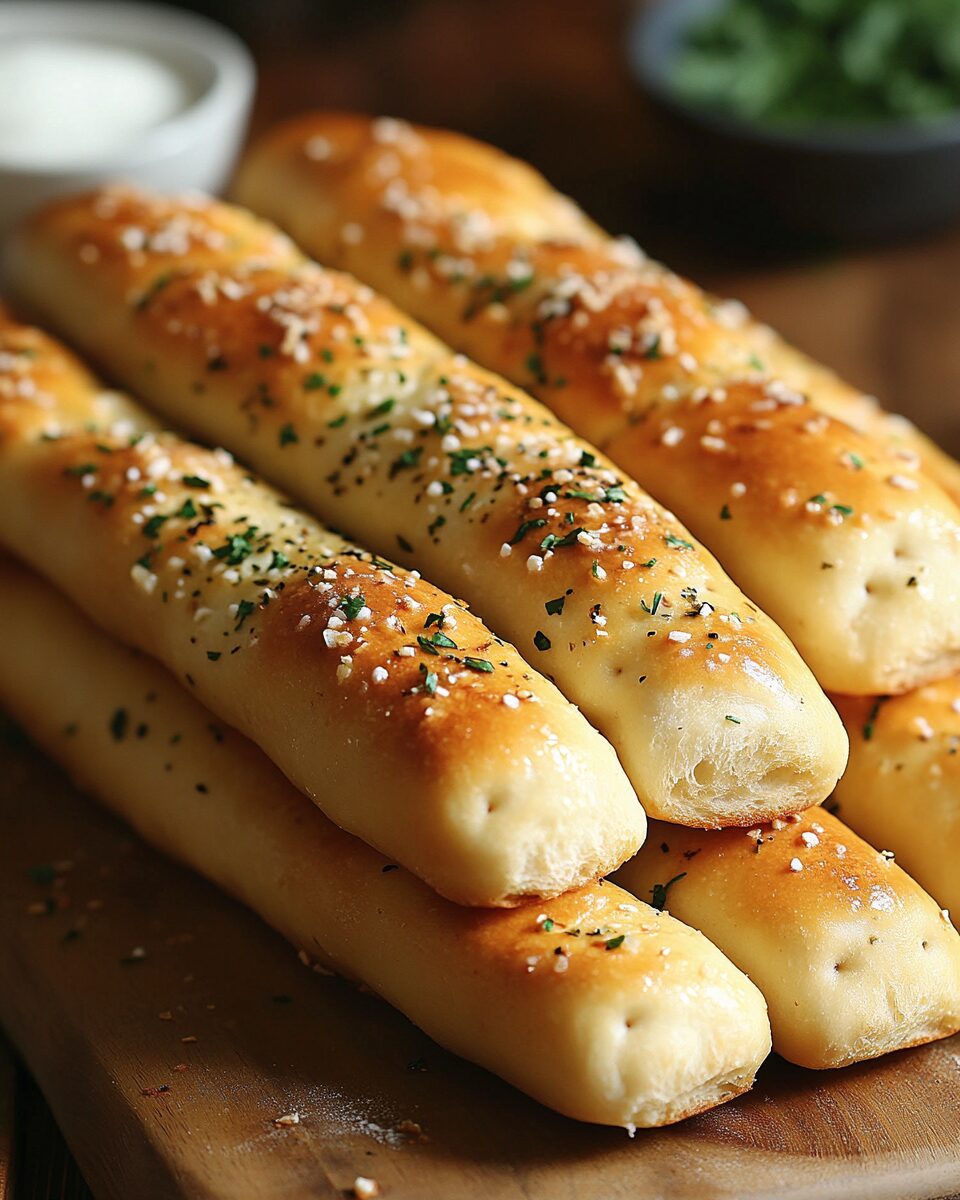
One of the reasons Olive Garden Breadsticks are so beloved is their perfect balance of textures and flavors. The dough is light and airy, thanks to the yeast that allows it to rise and create that signature fluffiness. The exterior, however, is where the magic happens. Once baked to a golden brown, the breadsticks are brushed with a rich garlic butter mixture that infuses every bite with savory goodness. This combination of a soft interior and a flavorful, buttery crust is what makes these breadsticks truly special.
Customizing Your Homemade Breadsticks
The process of making homemade Olive Garden Breadsticks is not only rewarding but also allows for customization. You can adjust the amount of garlic or butter to suit your preferences, or even add herbs like parsley or oregano for an extra layer of flavor. Some people enjoy sprinkling Parmesan cheese on top for a cheesy twist, while others keep it simple and classic. This flexibility means you can tailor the breadsticks to match your favorite meals or create a unique version that suits your tastes.
Perfecting the Dough
A key element to achieving the perfect Olive Garden-style breadstick lies in the dough preparation. Using warm water to activate the yeast is essential to ensure a proper rise. This step allows the dough to become light and fluffy rather than dense or chewy. Kneading the dough thoroughly helps develop the gluten, which gives the breadsticks their elastic texture. Allowing the dough to rise twice once after mixing and again after shaping ensures an even, airy structure that is soft yet holds its shape during baking.
Baking to Perfection
Another crucial aspect is the baking temperature and time. Baking the breadsticks at 400°F (200°C) strikes the right balance between cooking the inside thoroughly while achieving a beautifully golden crust. Keeping an eye on the breadsticks during the final minutes of baking ensures they don’t overcook, preserving their softness. As soon as they come out of the oven, brushing them generously with melted butter mixed with garlic powder and salt adds that iconic flavor and a glossy finish.
Versatility in Serving
What makes these breadsticks even more appealing is their versatility. They pair wonderfully with a range of dishes, from classic Italian pasta like spaghetti and lasagna to lighter fare such as soups and salads. Whether served as a pre-dinner appetizer, a side for a hearty main course, or even a snack on their own, these breadsticks are a crowd-pleaser that suits any occasion. You can also use them as a base for creative variations, such as dipping them in marinara sauce or turning them into cheesy breadsticks with a sprinkle of mozzarella.
The Joy of Homemade Breadsticks
Beyond their deliciousness, homemade Olive Garden Breadsticks offer a sense of accomplishment. Baking from scratch allows you to control the quality of ingredients, avoid preservatives, and enjoy the therapeutic process of kneading and shaping the dough. The aroma of freshly baked bread filling your kitchen is an experience in itself, evoking feelings of warmth and hospitality. Sharing these breadsticks with family and friends adds an extra layer of joy to any gathering.
Make-Ahead and Storage Tips
For those who enjoy meal prepping or entertaining, these breadsticks can also be made ahead of time. You can prepare and shape the dough in advance, allowing it to rise in the refrigerator overnight. When you’re ready to bake, simply bring the dough to room temperature and follow the baking instructions. Leftover breadsticks can be stored in an airtight container for a few days or frozen for longer storage. Reheating them in the oven for a few minutes restores their warm, buttery texture.
Elevating the Flavor
If you’re looking to elevate your homemade Olive Garden Breadsticks even further, consider experimenting with different seasonings. Adding a sprinkle of Italian seasoning or freshly grated Parmesan cheese before baking enhances their flavor profile. You can also try brushing them with herb-infused butter or serving them with a variety of dipping sauces, such as garlic aioli or marinara. These small tweaks can turn a classic recipe into a personalized culinary masterpiece.
Conclusion:
Homemade Olive Garden Breadsticks capture all the elements that make the restaurant version so beloved: a soft, airy interior, a buttery garlic coating, and a golden-brown crust. With a bit of patience and a few pantry staples, you can recreate these iconic breadsticks in your own kitchen. Whether you follow the classic recipe or add your own creative touches, these breadsticks are sure to become a household favorite. Their versatility and crowd-pleasing nature make them a perfect addition to any meal, ensuring that no one can resist reaching for “just one more.”