
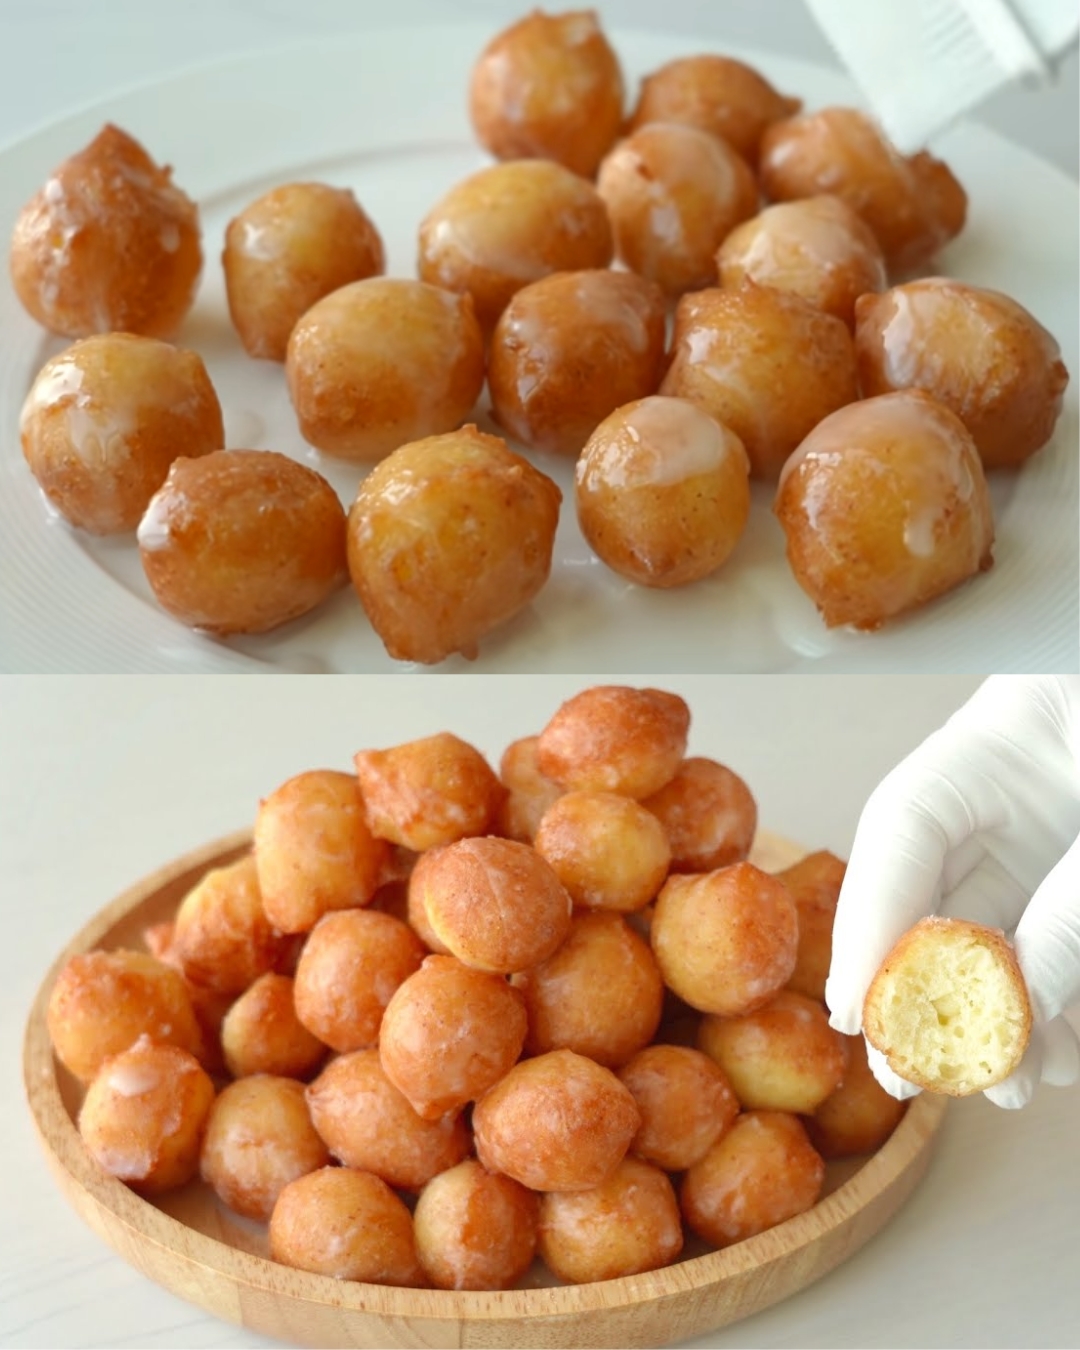
Mini Glazed Donuts are the perfect bite-sized snack for anyone with a sweet tooth. These fluffy, light, and golden-brown treats are easy to make and even easier to eat. Whether you’re serving them for breakfast, as a dessert, or just for a quick snack, these mini donuts are guaranteed to bring smiles to everyone’s faces. They have a soft, airy interior and a deliciously sweet glaze that adds the perfect amount of sweetness. The best part? You can easily customize them with different coatings like chocolate or sprinkles, making them a versatile and delightful treat for all occasions!
Full Recipe:
Ingredients:
For the Dough:
- 200g all-purpose flour (or bread flour)
- 30g sugar
- Pinch of salt
- 3g instant yeast
- 1 egg
- 100ml milk
- 20g melted butter (salted or unsalted)
- Oil for frying
For the Glaze:
- 50g powdered sugar
- 15ml drinking water
Instructions:
1. Prep the Dough:
- Sift the Flour: Start by sifting 200g of all-purpose flour (or bread flour) into a large mixing bowl to ensure there are no lumps.
- Add Dry Ingredients: Add 30g of sugar, a pinch of salt, and 3g of instant yeast. Mix these dry ingredients together roughly with a spatula or spoon.
- Combine Wet Ingredients: Crack 1 egg into a separate bowl, then add 100ml of milk and 20g of melted butter. Mix well to combine.
- Mix to Form Dough: Pour the wet mixture into the dry ingredients. Stir until the ingredients are well combined and a sticky dough forms.
- Let the Dough Rise: Cover the bowl with plastic wrap and place it in a warm area. Let the dough rise until it has doubled in size, which usually takes about 1-2 hours depending on room temperature.
2. Shape and Fry:
- Prepare Piping Bag: Once the dough has risen, transfer it to a piping bag. Cut a small hole at the tip to allow the dough to be easily piped.
- Heat the Oil: In a deep frying pan, heat oil to 170-180°C (340-350°F). It’s important to maintain this temperature to ensure the donuts cook evenly without burning.
- Pipe the Donuts: Carefully pipe small amounts of dough into the hot oil, using scissors to cut the dough as it comes out of the piping bag. This will create small, round donut balls.
- Fry Until Golden: Use chopsticks or a slotted spoon to flip the donuts, ensuring they cook evenly on all sides. Fry until they are golden brown, which should take about 1-2 minutes per side.
- Drain Excess Oil: Remove the donuts from the oil and place them on a plate lined with paper towels to drain any excess oil.
3. Glaze:
- Prepare the Glaze: In a small bowl, mix 50g of powdered sugar with 15ml of water. Stir until the mixture is smooth and has a thick, syrupy consistency.
- Glaze the Donuts: Once the donuts have cooled slightly, brush the glaze over them, ensuring they are evenly coated. Let the glaze set for a few minutes before serving.
Nutrition Facts (Per Serving, Approximate):
- Calories: 220 kcal
- Carbohydrates: 35g
- Protein: 4g
- Fat: 7g
- Saturated Fat: 2g
- Cholesterol: 40mg
- Sodium: 90mg
- Fiber: 1g
- Sugar: 12g
Frequently Asked Questions (FAQs):
1. Can I use a different type of flour?
- Yes, you can substitute all-purpose flour with bread flour for a slightly chewier texture. Gluten-free flour can also be used, but the texture may vary.
2. How do I know when the oil is at the right temperature?
- Use a kitchen thermometer to check the oil temperature. If you don’t have one, drop a small piece of dough into the oil; if it sizzles and floats to the surface, the oil is ready.
3. Can I make these donuts without a piping bag?
- Yes, you can use a zip-lock bag with a corner cut off or even shape the dough by hand, but using a piping bag gives more consistent results.
4. What other coatings can I use besides the glaze?
- You can dip the donuts in melted chocolate, sprinkle powdered sugar on top, or even roll them in cinnamon sugar for a different flavor profile.
Tips for Making Perfect Mini Glazed Donuts:
- Measure Ingredients Accurately: Baking is all about precision, so make sure to measure your ingredients accurately for the best results.
- Maintain Oil Temperature: Keeping the oil temperature consistent will prevent the donuts from burning or absorbing too much oil. If the oil cools down, the donuts will become greasy and heavy.
- Don’t Overcrowd the Pan: Fry the donuts in small batches to allow them to cook evenly. Overcrowding the pan can cause the oil temperature to drop.
- Use Fresh Yeast: Make sure your yeast is fresh and active. If the yeast does not foam up when mixed with the other ingredients, it might be expired.
- Cool Before Glazing: Let the donuts cool slightly before adding the glaze to ensure it sticks properly. If the donuts are too hot, the glaze will melt and slide off.
Storage Tips:
- Refrigeration: Store leftover donuts in an airtight container in the refrigerator for up to 3 days. To enjoy them again, reheat briefly in the microwave or oven.
- Freezing: You can freeze the donuts after frying. Once they are completely cool, place them in a zip-lock bag and freeze for up to 1 month. When ready to eat, thaw at room temperature and reheat in the oven at 180°C (350°F) for 5-7 minutes.
- Prepping Ahead: If you want to prepare the dough ahead of time, mix and refrigerate it overnight. Let it come to room temperature before frying.
Conclusion:
Mini Glazed Donuts are a delightful treat that’s easy to make and fun to eat. They are light, fluffy, and have just the right amount of sweetness, thanks to the simple sugar glaze. Whether you’re making them for a quick snack, a party, or a special breakfast treat, these donuts are bound to impress. With a few simple ingredients and a bit of frying, you’ll have a batch of delicious homemade donuts that rival any store-bought version.
Feel free to experiment with different glazes and toppings, such as chocolate, sprinkles, or even fruit jams, to create your unique version of this classic treat. Making these donuts at home allows you to control the ingredients, ensuring they are fresh and free from unnecessary additives. Give this recipe a try, and you might find yourself making them again and again. Happy cooking!